fpp - sketchbook exchange update

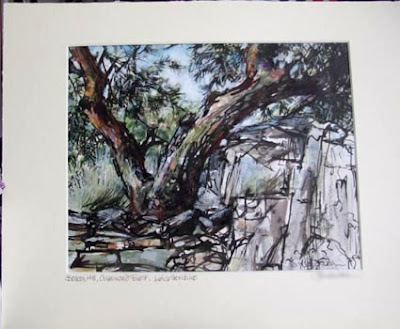
Poppies by Glen Heath - detail I have the next book in the FPP sketchbook exchange and help!!!!! what a challenge. The book is Nina's and her theme: Polychrome. http://vivienb.blogspot.com/2008/06/sketchbook-exchange-ninas-work.html You can see how Nina started the book here, with a beautiful watercolour of the view from her home. Now Glen has lived up to it with this lovely study of poppies - the full image is below with some of Nina's work showing on the left: How to follow this ???????????????? I need chocolate And how am I going to part with this book? and I've had a sneak preview of the next one which is currently with Glen - and it's gorgeous as well I need more chocolate . .